For the LOVE of PAPER!!!

Showing posts with label Plantin Schoolbook. Show all posts

Saturday, January 1, 2011

Little Sis Explosion Box

Day 4 - My little sis's box. I did a silver, black and red theme. I did a few Cricut cuts on this one because she is new to paper crafting but, I always know that she will appreciate all the details! I cut the owl from Give a Hoot; the city skyline from Plantin Schoolbook; and the Eiffel Tower from Destinations.


On the mat with the owl, I cut the owl at 1" using cream and silver shimmer paper and then used gold stickles on the branch. I embossed velum using the snowflake Cuttlebug folder and then a piece of American Crafts ribbon.


On the city skyline mat, I cut the skyline using Core'dinations black glitter paper and then cut snowflakes out using the Martha Stewart snowflake border punch. I used silver and gunmetal stickles on them as well. The shimmery background paper is from the latest DCWV Luxury stack.


Last, the Eiffel tower. On the destinations cartridge, this cuts in a rectangle frame with 'Paris' at the bottom. I cut the city name off and used it on a gift tag for her. I also cut the remaining part of the frame off and added small scraps of black paper on the back to appear as a black out.


Friday, October 29, 2010

Autumn Splendor Simple Card


Today's card is pretty simple. I used kraft stock as the base with a green mat and then a printed sheet from Me & My Big Ideas fall stack as the top mat. I inked the edged of the printed sheet and added a strip of shimmery brown ribbon down the side. I stamped the round sentiment on a yellow circle that I cut at 2 3/4" using Plantin Schoolbook and then mounted it on a solid maroon circle cut at 3" and pop dotted the entire thing. I finished it off with some green and orange gems. The inside, I added a sheet of the yellow and then used an EK Success border punch on both the left and right side and then glued green strips underneath to show off the border punch and then stamped the sentiment

Sunday, October 10, 2010

A City Skater


MPS (Robyn) had a weekend challenge to make something winter related. This was a challenge to me because I don't really have much winter themed paper and embellishments. It appears that glitter paper is my go to when it comes to winter cards, what else can make snow look so pretty? I used Plantin Schoolbook and Design Studio to weld the city scape and a basic rectangle together for the background. The blue glitter paper is Core'dinations and I cut the city scape in gray and then inked the buildings in black. I hand cut the snow and the pond. The ice skater was cut using the Christmas Village cartridge at 1 1/4" and the stand at the bottom trimmed off and I used cotton candy Stickles on her outfit. I don't have any winter/holiday related stamps yet but, when I get some, I am going to add a sentiment to the front.

Tuesday, September 14, 2010

Whisking you a Wonderful Day!!


Today I have another card for my pastry chef cousin. :) Her BD is coming up so, I decided it was time to buy the From My Kitchen cartridge for myself. Any excuse, you know? lol. I started with a pale yellow solid base and then a mat from the DCWV All About Girls stack. I cut the apron using another sheet from the same stack but, using Design Studio because I wanted to remove the apple from the front. I cut it at 3 1/2" and then pop dotted it on. Then I cut the whisk's, I cut on metallic paper at 2" so that they looked like metal whisks. I wouldn't recommend cutting the whisk's smaller than that because the cut is so thin. I cut more than what I have on the card but, several didn't make it. I cut the word 'whisk' using the whisk key & the words creative funtion. I cut it at 1" and then added the 'ing you' from Plantin Schoolbook at 1" as well.

On the inside, I added a strip of the brown paper I used for the words and the 'scrap' piece of the polka dot mat on the front and then another whisk on top. The stamped sentiment is from the Hero Arts Big Hugs clear set that I got from Archiver's.

Sunday, August 15, 2010

Robotz Mini Scrapbook


Today I did a mini-scrapbook that I had viewed on the Creative Critters Cricut site (http://www.cricutcritters.com/). Tammy Skinner is AMAZING with projects. She posted this one back (http://www.cricutcritters.com/2010/04/plantin-schoolbook-christmas-cheer-file.htmlfile.html) in April and I knew I wanted to give it a try but, didn't have a specific reason until now. My son is leaving Preschool for kindergarten at the end of the month and his preschool BFF will not go to the same school. I wanted to give his BFF a little gift from us and I thought this would be so much better than a toy! Besides his mom is a scrapbooker so, I know she will love it!


I won the Robotz cartridge back in May from the MPS site but, I hadn't been able to use it so, I thought, this would be perfect. I had a bit of a hard time finding 12x12 file folders but, I was able to find black and white flower print ones that were lime on the inside. How perfect as it matches the color scheme of my robot papers. I decided to cut the tab from the folder after it was folded as well and I inked the edges so that the white paper cores weren't sticking out. The paper I used for this project is The Paper Studio A Boy's Universe stack that I picked up from Hobby Lobby...I love it and I haven't seen it anywhere else. I also embossed several of the sheets and tags using the Cuttlebug diamond plate folder and the circles folder. To make the Robots, I used almost all scrap paper because so may of the details are so small when they cut.

Now for the details. Starting from the 'inside' of the accordian fold on the left, I will attempt to give a little detail on each of the six decorative panels. The first is just a picture of the boys together and the years span that they were in daycare/preschool together, both mounted and then attached to the panel.


When I first started looking at the Robotz I was a little overwhelmed by the amount of small pieces in the layer functions. I decided to start with one that didn't look as complex but, still lots of little pieces to glue (which again is great for using up scraps). I started making the Robots for the second panel. The Robot on the second panel is Robot1 on page 28 at 4". You can't tell really well from the picture but, I used a silver mirror paper on the body of this guy. I also used larger sized google eyes.


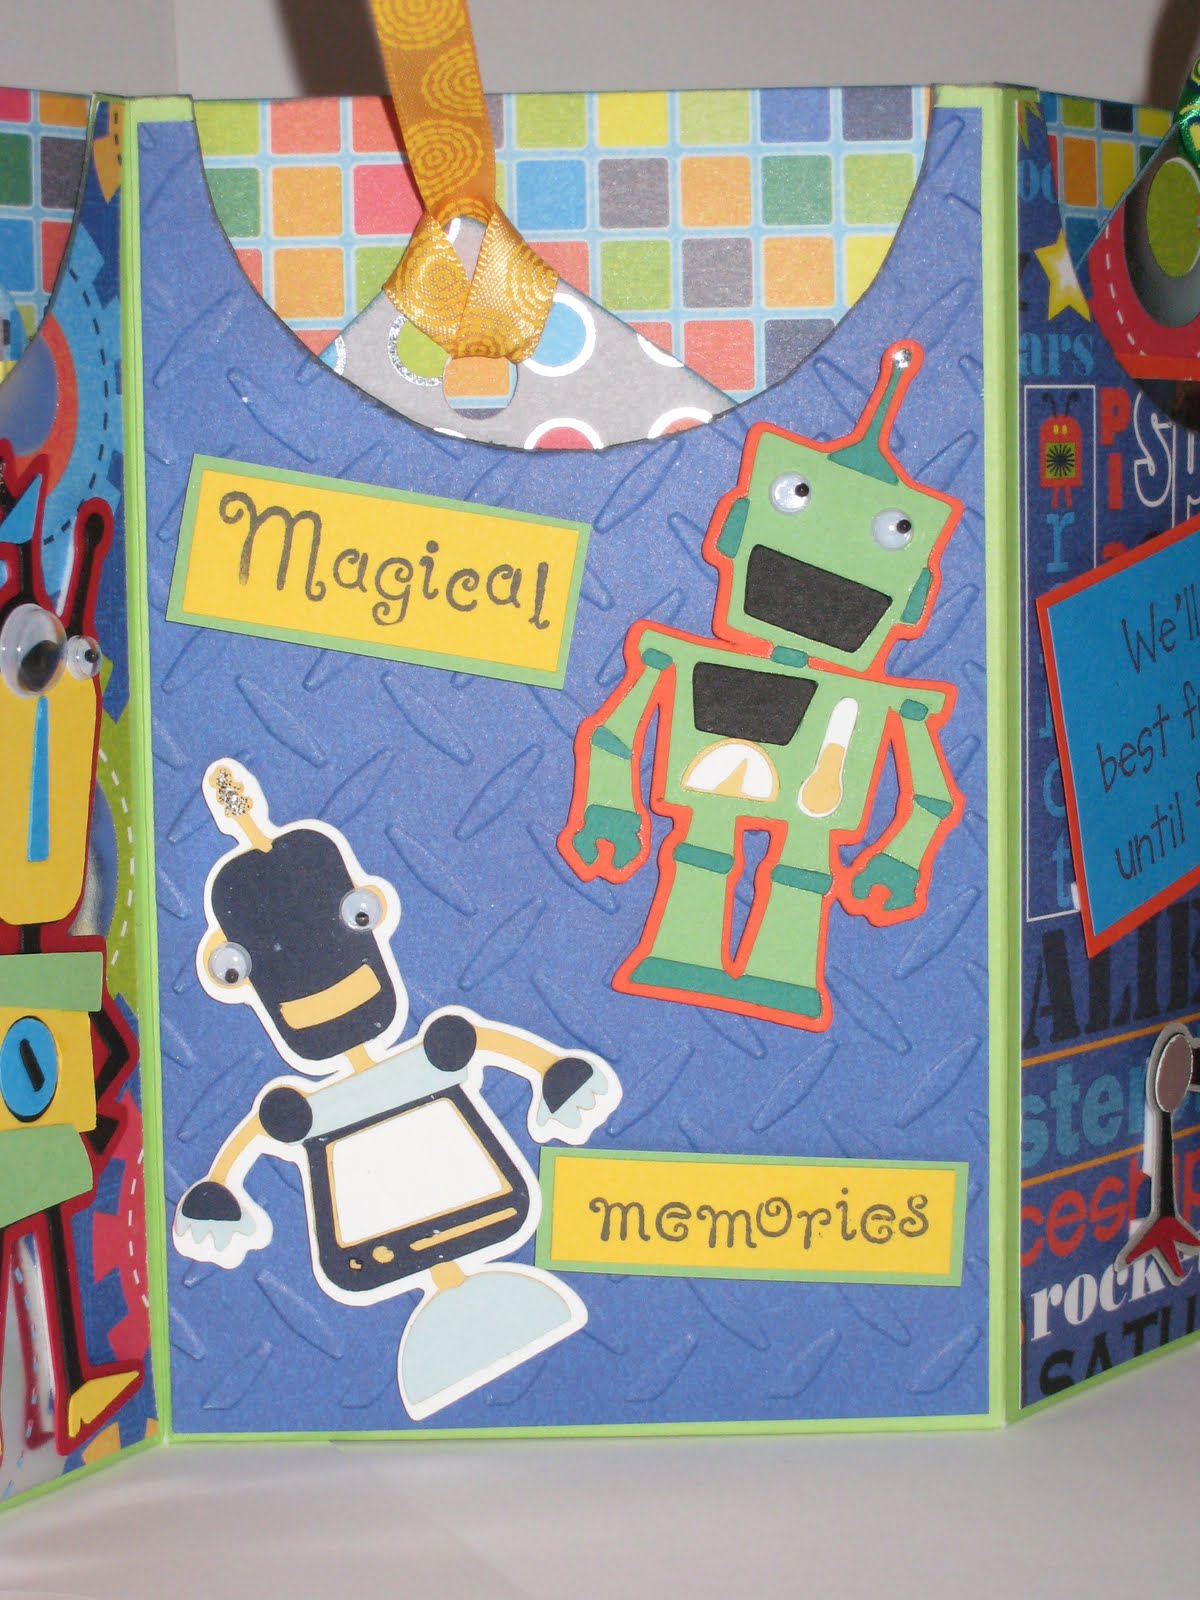
On the third panel, I cut Robot39 from page 66 at 4 1/4". For this guy, I used two different sized google eyes as well as some silver stickles for the tip of the antenna. The lightbulb was cut using the font function of robot41 and the sentiments were stamped from a Mickey Mouse stamp set that I used withough inking the mickey portion of the stamp.


On the fourth panel, I cut two different robots, Robot20 on page 47 and Robot 19 on page 46, each at 3" I put google eyes on both and used the silver stickles on the antenna's again. The sentiment was another from the Disney set mentioned above and the mat is one that I embossed using the diamond plate folder.


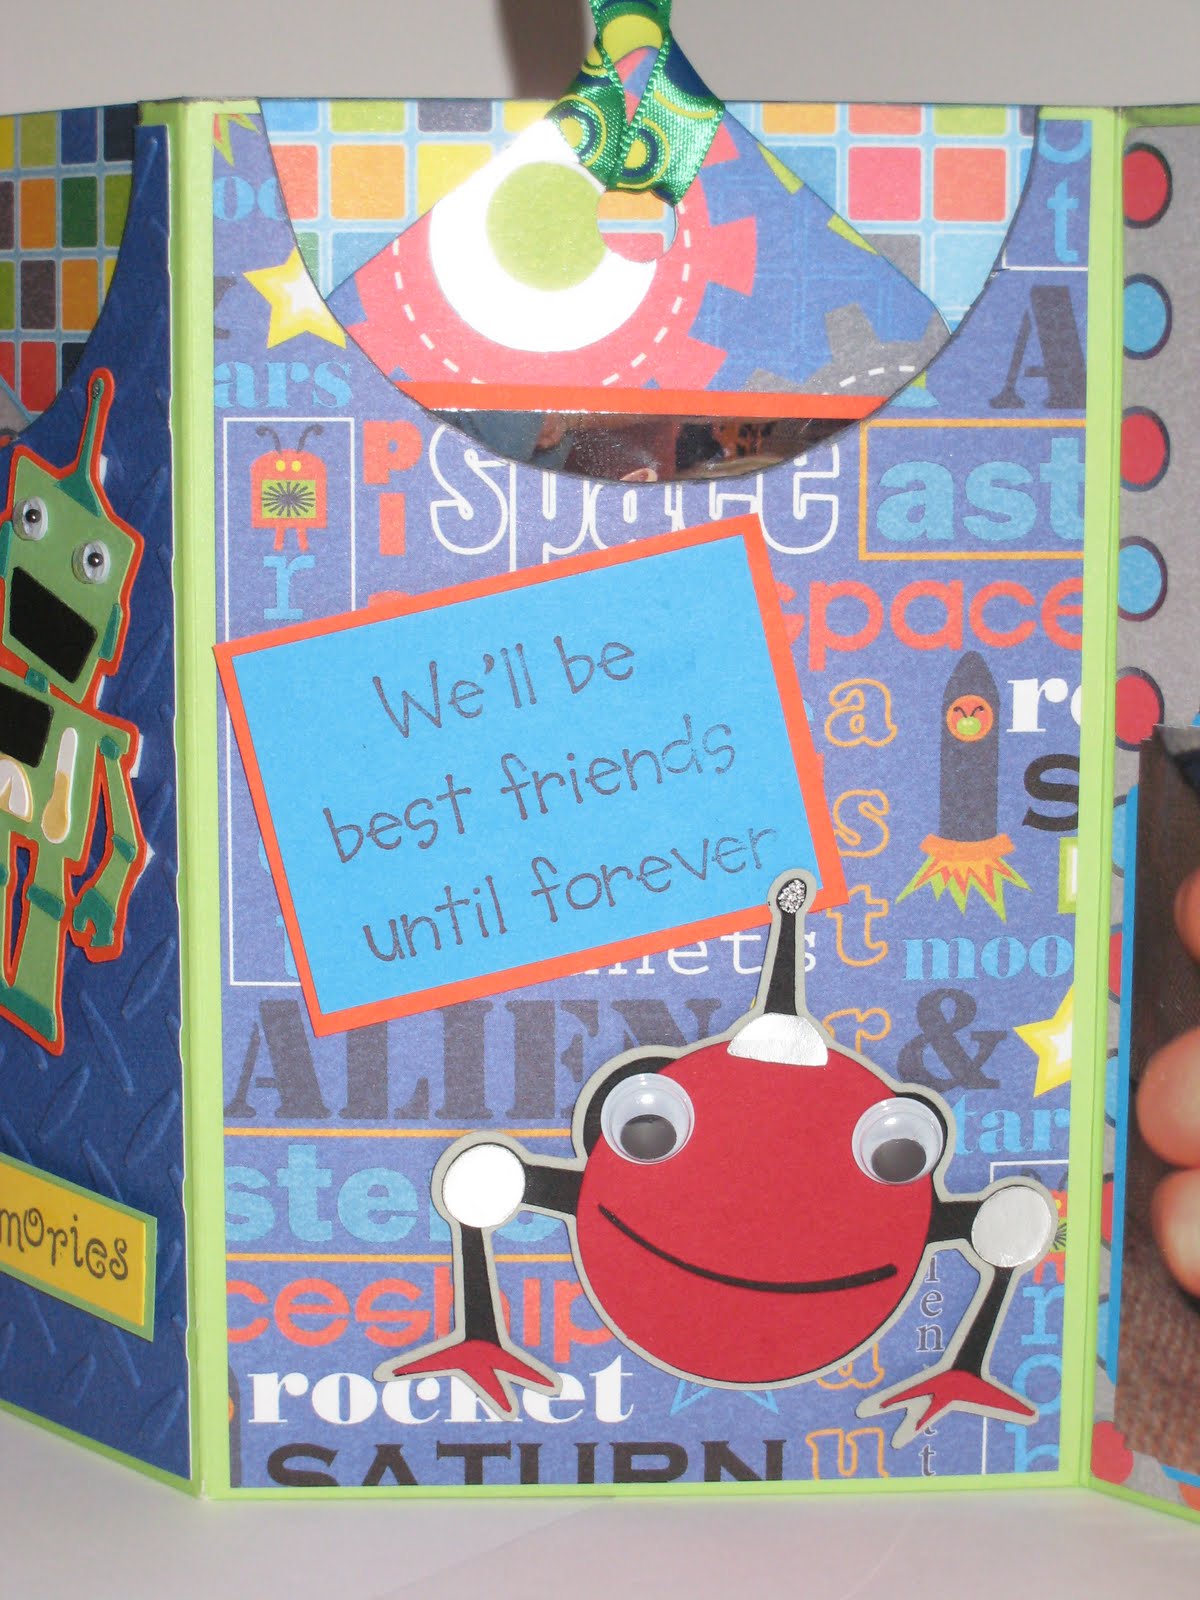
Love the little robot on the fifth panel, robot41 on page 68. I cut him at 2 1/2", used the silver mirror paper for one of the layers, used the google eyes again & silver stickles at the top. This sentiment is also cut from the Disney set.


Last, but not least, robot3 on page 30 cut at 3". I used the silver mirror paper as the shadow on him and google eyes, no stickles this time though. The picture is of the boys holding hands on a train ride when they were 2.


I pop dotted all of the sentiments and the robots and the backside has mounted pictures of the boys together. All of the tags have photos on the front and back that I cropped down to fit on the tags. Oh, and the ribbon I used from was KI Memories 'suprise' set, the Target dollar bin, & Un ique ribbons. Oh, and on the front, I cut the words 'preschool pals' and their names using the font creative feature of the cartridge at 1/2" each. They cut very nicely for that size, which surprised me because I wasn't sure they would being that small. I can't think of any other details but, I am sooo happy with the way that this turned out. I hope you enjoyed it!!!