For the LOVE of PAPER!!!

Showing posts with label Robotz. Show all posts

Saturday, May 12, 2012

Lego Birthday Card


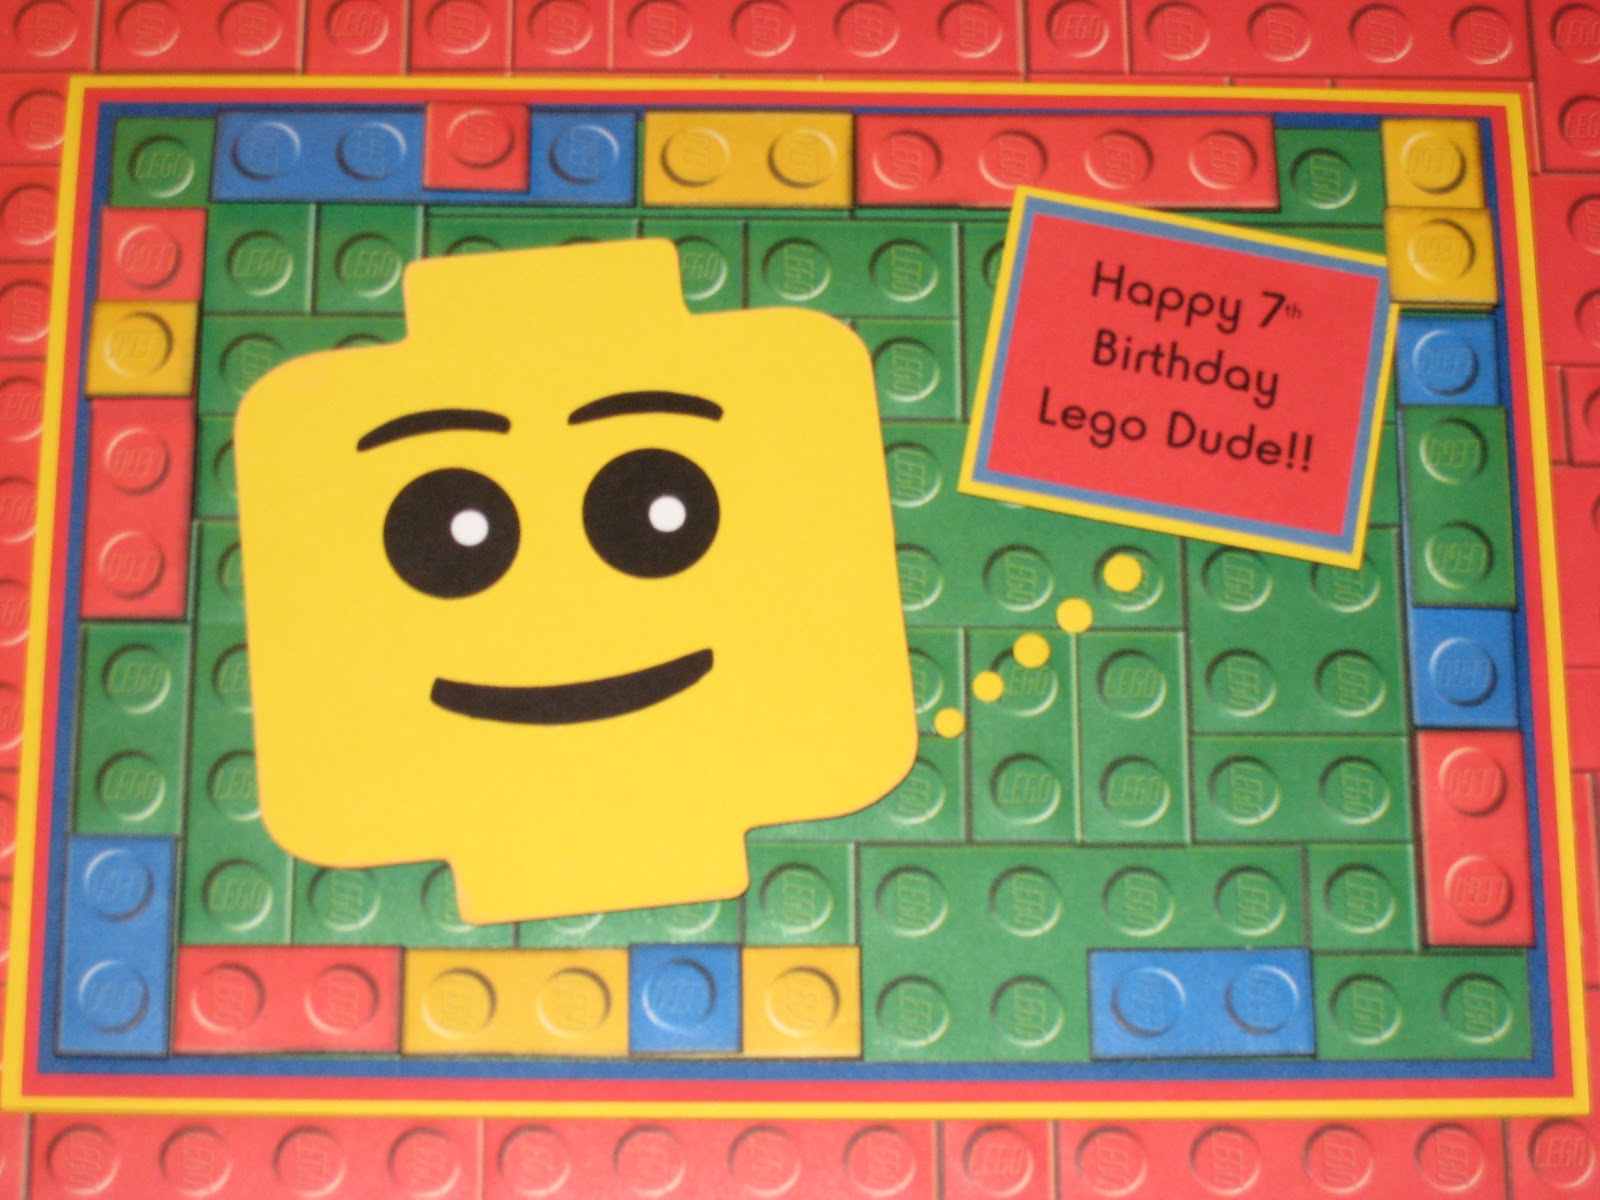
Today I have my lego birthday card that I made for my son's birthday.   The paper is the same paper used on the invitation, from Creative Imaginations.   I used a large green piece as the 'plate' and then cut smaller pieces for the boarder and layered them using pop dots so they were raised as if lego's were being stacked.
The lego man head was a another story!  I used a layer from the Robotz cartridge that was half of the shape of the legoman head.  The cut was the Robot39 font cut, using Design Studio at 3".   I stretched it a little for more of a square shape and then copy and pasted the same shape onto itself but, rotated the top shape, turning it upside down. I welded the two shapes together and this is what I got.   I did have to trim the top and bottom down so that the lego 'knobs' weren't too long.
Then, onto the face.  I cut the mount and eyebrows using the Twinkle Toes cartridge, Dancer5 layer shift at 6" for the mouth and 3" for the eye brows.   The eyes were hole punched.   I printed the sentiment and framed it. 

the inside was framed with each color lego paper and then a few random, falling blocks.  The sentiment is from Hero Arts.

Thursday, May 10, 2012

Lego Game Container


 Obviously more lego paper used on this project...the band around the front, the band around the lid and the tent card on the top with the game question. 
For the legoman head, I used a layer from the Robotz cartridge that was half of the shape of the legoman head. The cut was the Robot39 font cut, using Design Studio at 6". I stretched it a little for more of a square shape and then copy and pasted the same shape onto itself but, rotated the top shape, turning it upside down. I welded the two shapes together and this is what I got. I did have to trim the top and bottom down so that the lego 'knobs' weren't too long.
For the face. I cut the mount and eyebrows using the Twinkle Toes cartridge, Dancer5 layer shift at 6" for the mouth and 3" for the eye brows. The eyes were hole punched.

Saturday, June 11, 2011

3D Robots

Happy 6th Birthday Aiden!!!  My son's birthday theme is Robots/Outer Space.  The party is at a Bounce House type of place so, it works well.   We aren't allowed any hanging decorations so, I decided to make a 'banner' using the 3D robots.  Since I used this same Robot for the invitation, I decided to make three of them for the cake table.   I cut them at 12" which means, I had to use Design Studio to rotate the cuts but they were super easy to put together.   I used some Stickles to add a little detail and some google eyes.  Then I printed the words and glued them to the fronts.

Wednesday, June 8, 2011

Robot Invite

My son turns 6 this year and this is what I came up with for his invite.   I kept it a little basic because he invited his entire kindergarten class which meant I had to make like 50 invites.   I used the Robot from the Robotz cartridge and the rectangle from George and Basic Shapes and welded them together on Design Studio.  
For the layers, I only cut the mouth and stomach only and then added stickles at the joints, feet, hands and antenna. I added some google eyes and printed out the front and inside on my printer.   Walla!

Monday, May 9, 2011

Robot Birthday

I'm on a roll now with my posts.   I haven't done much lately because of our house building project but, I was sooo looking forward to the National Scrapbook Day challenges that My Pink Stamper does every year.   This entry is for the final challenge of making a kid themed project.
 I cut this Robot from the Robotz cartridge at 4 1/2", using the retro bot function.   I glittered his joints with silver Stickles and then stamped a sentiment on his stomach.   Both stamped sentiments are from a dollar bin set (I think from Michael's).   The mat paper is scrap from The Paper Studio 'A Boy's Universe' stack and the ribbon is from a U'nique set (I think from Pat Catan's).

Inside, I punched the rockets using a Martha Stewart punch and a piece of robot ribbon from Hobby Lobby.

Friday, August 20, 2010

Stay Cool Robot


Today's card I made for another boy in my son's preschool that he wasn't all that close to but, I still wanted to say goodbye to. This card was also made using The Paper Studio, a Boy's Universe stack and the Robotz cartridge. I used Robot36 on page 63 and cut him at 4 1/2". I also used the dots (or circles) folder to emboss parts of his hands, feet and the gauge on his stomach and google eyes. I printed the sentiments on the outside and inside and used some PC border scissors to cut the mats.

Sunday, August 15, 2010

Robotz Mini Scrapbook


Today I did a mini-scrapbook that I had viewed on the Creative Critters Cricut site (http://www.cricutcritters.com/). Tammy Skinner is AMAZING with projects. She posted this one back (http://www.cricutcritters.com/2010/04/plantin-schoolbook-christmas-cheer-file.htmlfile.html) in April and I knew I wanted to give it a try but, didn't have a specific reason until now. My son is leaving Preschool for kindergarten at the end of the month and his preschool BFF will not go to the same school. I wanted to give his BFF a little gift from us and I thought this would be so much better than a toy! Besides his mom is a scrapbooker so, I know she will love it!


I won the Robotz cartridge back in May from the MPS site but, I hadn't been able to use it so, I thought, this would be perfect. I had a bit of a hard time finding 12x12 file folders but, I was able to find black and white flower print ones that were lime on the inside. How perfect as it matches the color scheme of my robot papers. I decided to cut the tab from the folder after it was folded as well and I inked the edges so that the white paper cores weren't sticking out. The paper I used for this project is The Paper Studio A Boy's Universe stack that I picked up from Hobby Lobby...I love it and I haven't seen it anywhere else. I also embossed several of the sheets and tags using the Cuttlebug diamond plate folder and the circles folder. To make the Robots, I used almost all scrap paper because so may of the details are so small when they cut.

Now for the details. Starting from the 'inside' of the accordian fold on the left, I will attempt to give a little detail on each of the six decorative panels. The first is just a picture of the boys together and the years span that they were in daycare/preschool together, both mounted and then attached to the panel.


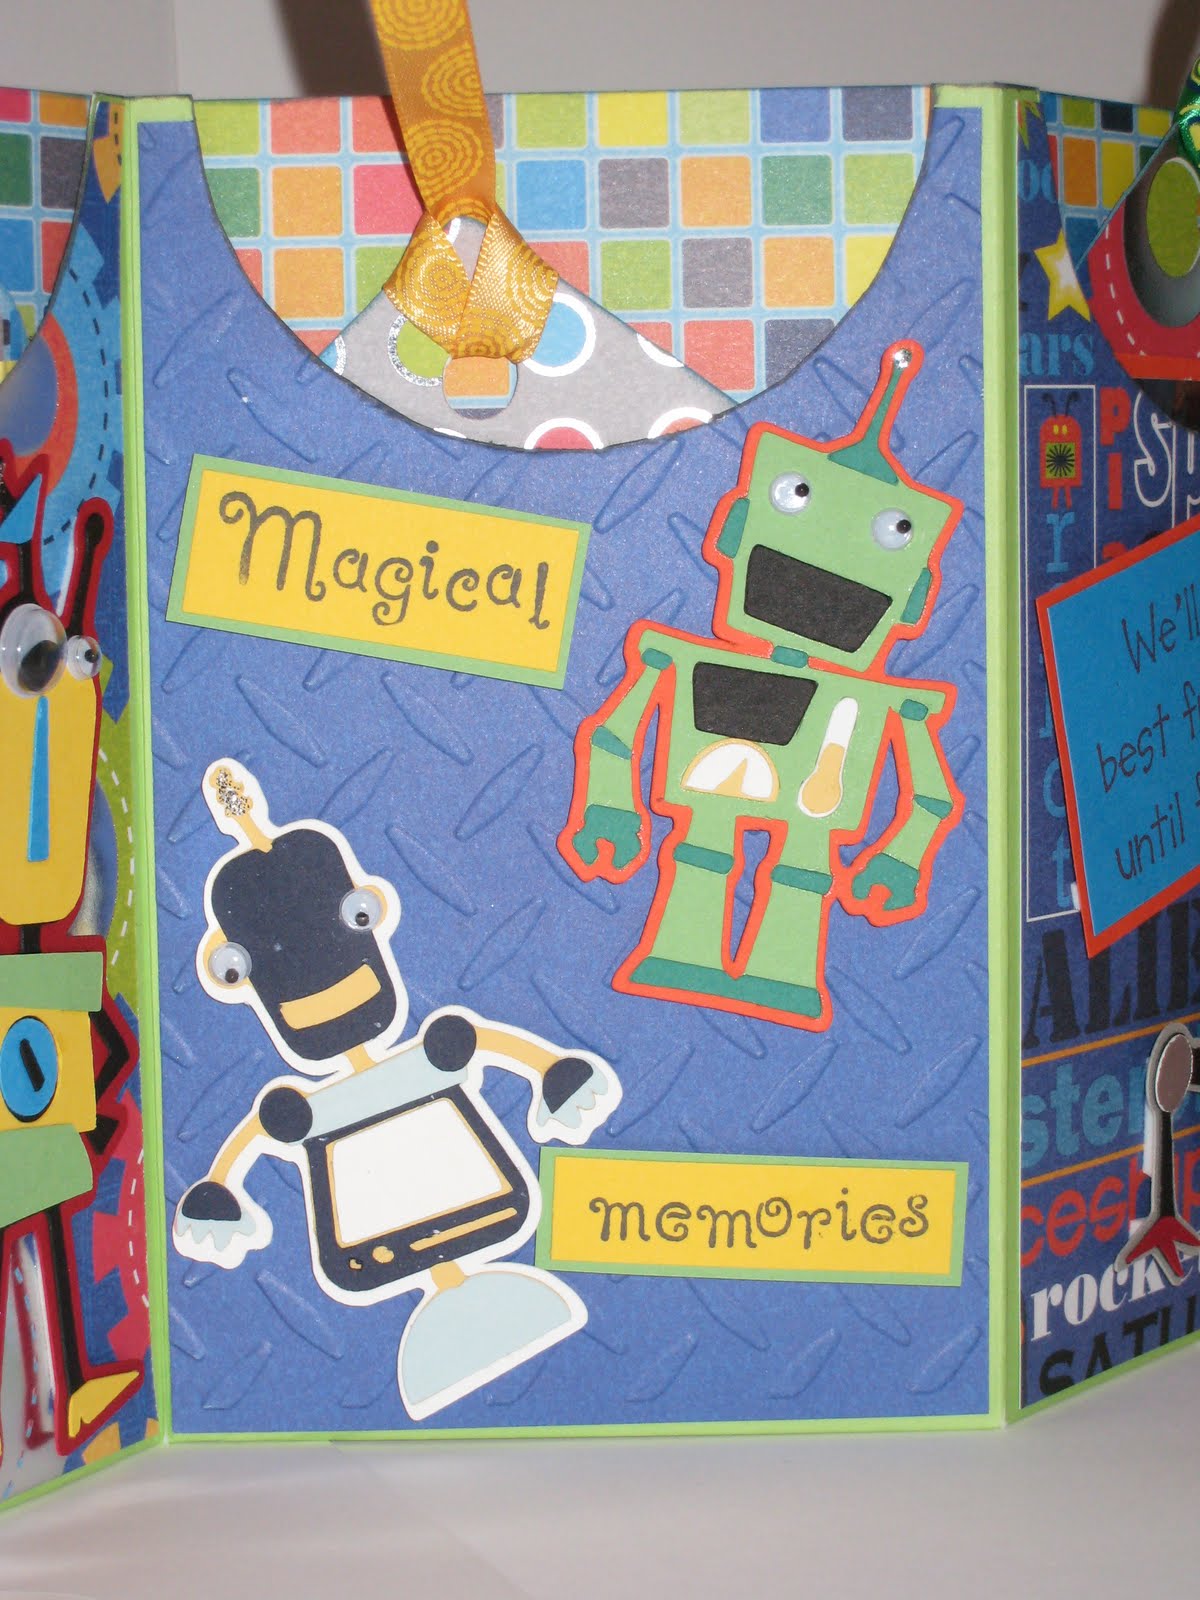
When I first started looking at the Robotz I was a little overwhelmed by the amount of small pieces in the layer functions. I decided to start with one that didn't look as complex but, still lots of little pieces to glue (which again is great for using up scraps). I started making the Robots for the second panel. The Robot on the second panel is Robot1 on page 28 at 4". You can't tell really well from the picture but, I used a silver mirror paper on the body of this guy. I also used larger sized google eyes.


On the third panel, I cut Robot39 from page 66 at 4 1/4". For this guy, I used two different sized google eyes as well as some silver stickles for the tip of the antenna. The lightbulb was cut using the font function of robot41 and the sentiments were stamped from a Mickey Mouse stamp set that I used withough inking the mickey portion of the stamp.


On the fourth panel, I cut two different robots, Robot20 on page 47 and Robot 19 on page 46, each at 3" I put google eyes on both and used the silver stickles on the antenna's again. The sentiment was another from the Disney set mentioned above and the mat is one that I embossed using the diamond plate folder.


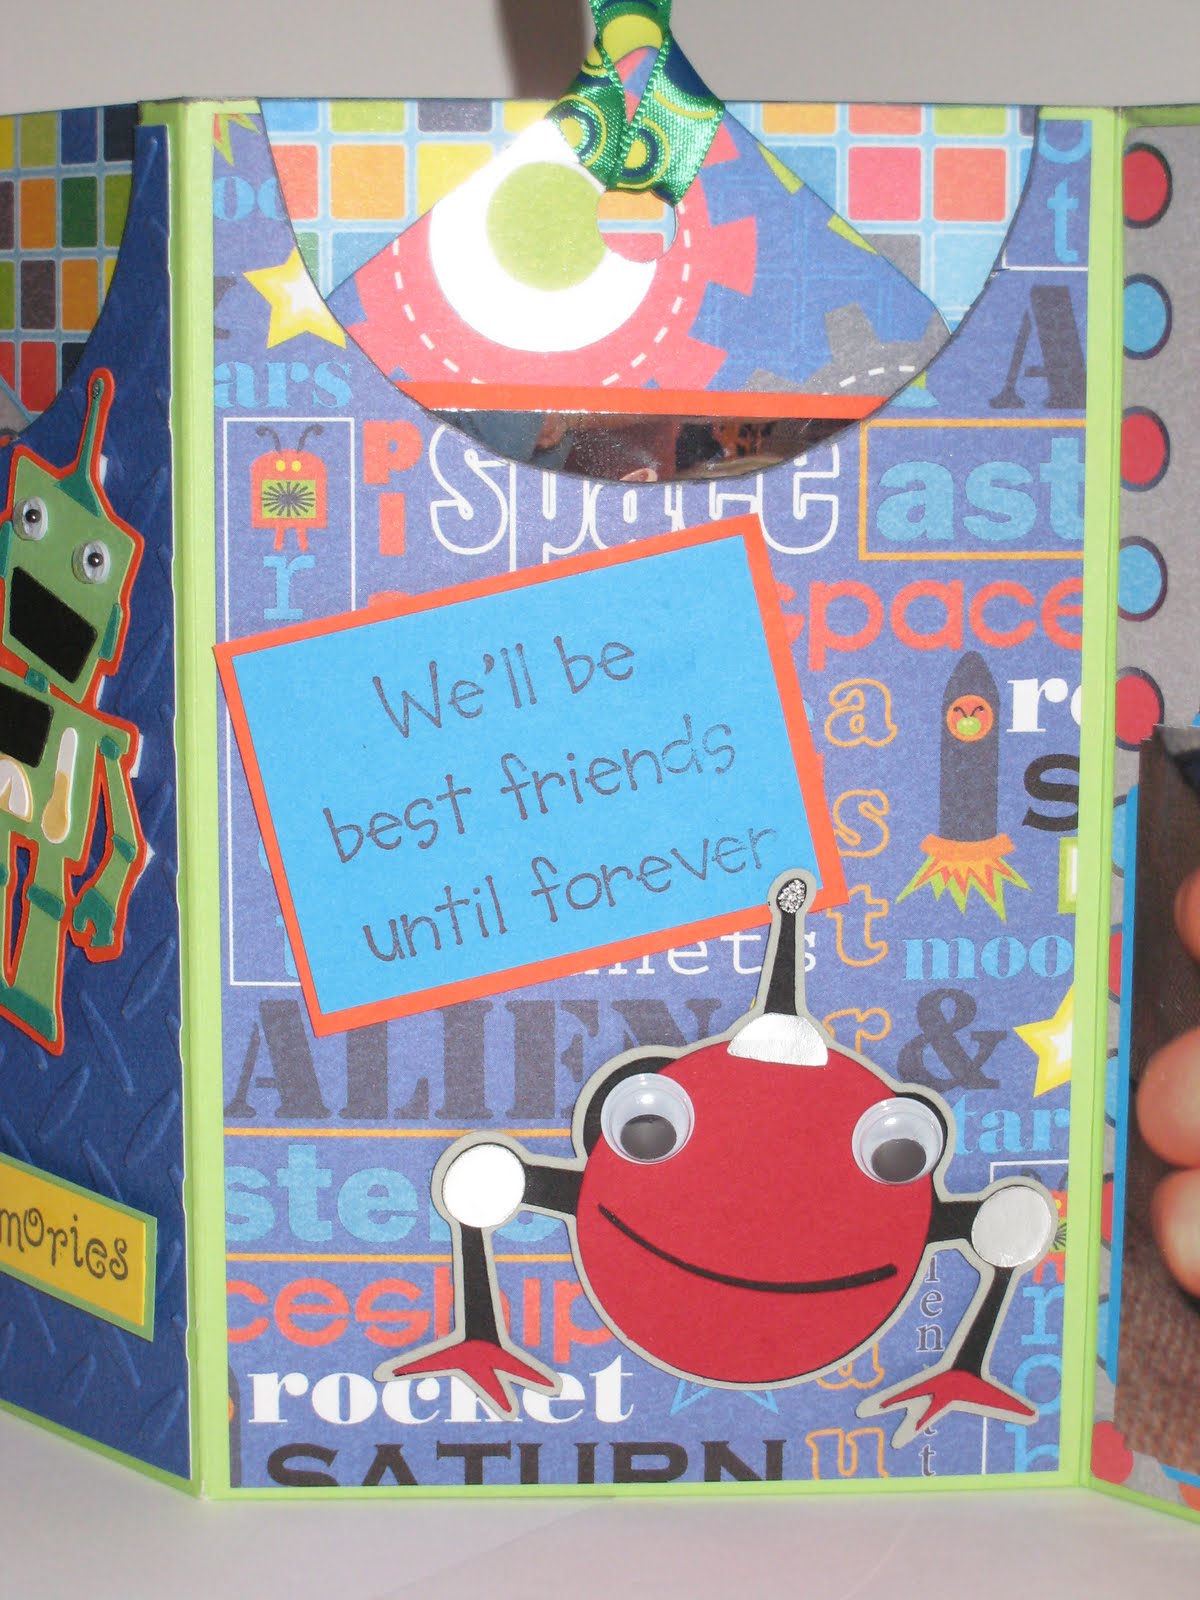
Love the little robot on the fifth panel, robot41 on page 68. I cut him at 2 1/2", used the silver mirror paper for one of the layers, used the google eyes again & silver stickles at the top. This sentiment is also cut from the Disney set.


Last, but not least, robot3 on page 30 cut at 3". I used the silver mirror paper as the shadow on him and google eyes, no stickles this time though. The picture is of the boys holding hands on a train ride when they were 2.


I pop dotted all of the sentiments and the robots and the backside has mounted pictures of the boys together. All of the tags have photos on the front and back that I cropped down to fit on the tags. Oh, and the ribbon I used from was KI Memories 'suprise' set, the Target dollar bin, & Un ique ribbons. Oh, and on the front, I cut the words 'preschool pals' and their names using the font creative feature of the cartridge at 1/2" each. They cut very nicely for that size, which surprised me because I wasn't sure they would being that small. I can't think of any other details but, I am sooo happy with the way that this turned out. I hope you enjoyed it!!!